Autotask Setup |

  
|
Autotask Setup |
|
The Autotask Setup defines defaults for Autotask opportunities and for the linked product data sources.
The following steps will take you through the process of configuring QuoteWerks for use with Autotask.
Step 1: Launch QuoteWerks.
Step 2: Click Contacts -> Setup Contact Manager from the main toolbar.
Step 3: Select Autotask as your contact manager on the left side of the Contact Manager Setup window.
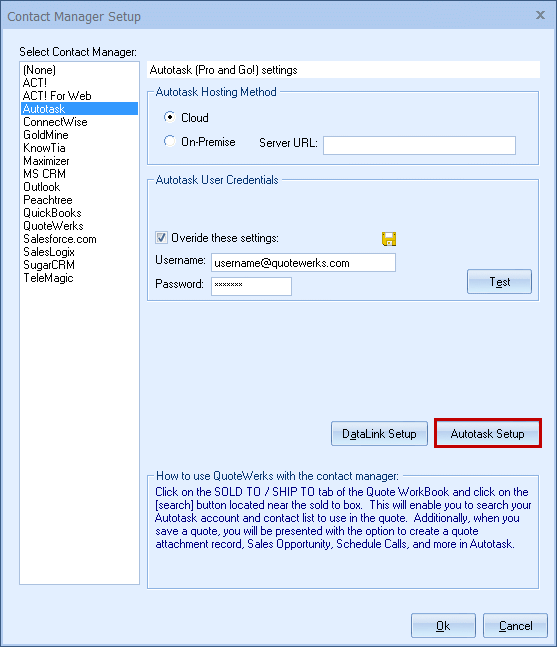
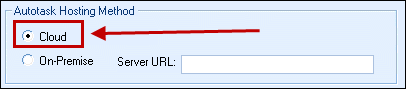
Step 4: Select Cloud (most likely) or On-Premise
Here you select your Autotask account type. Unless you have been told otherwise by Autotask, select the Cloud option.
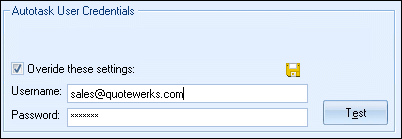
Step 5: Autotask User Credentials
This is where you will supply your Autotask login credentials. Enter these credentials then click the ![]() icon to save them. It is important that the credentials entered here is an administrative user's credentials. Click the [Test] button to verify the credentials.
icon to save them. It is important that the credentials entered here is an administrative user's credentials. Click the [Test] button to verify the credentials.
|
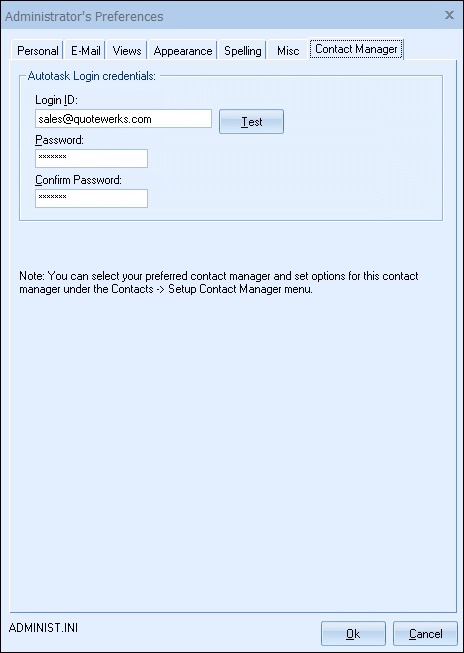
Each user will also need to enter in their Autotask user login credentials under their QuoteWerks user name after the Autotask integration is setup in the Tools > My Preferences > Contact Manager tab.
The next step is to work on the Autotask Setup.
Once that is completed, you can move onto the DataLink Setup.
See Autotask Integration for more information.
To learn more about the setup tabs presented to you, see: