When you use the Contact Import Wizard you are only able to import one contact for each company. Since companies often have multiple contacts it is important to have a way to import these contacts. To do this we use the Data Manager utility.
Important: This is a very advanced feature! Small mistakes can cause major problems in QuoteWerks. |
|
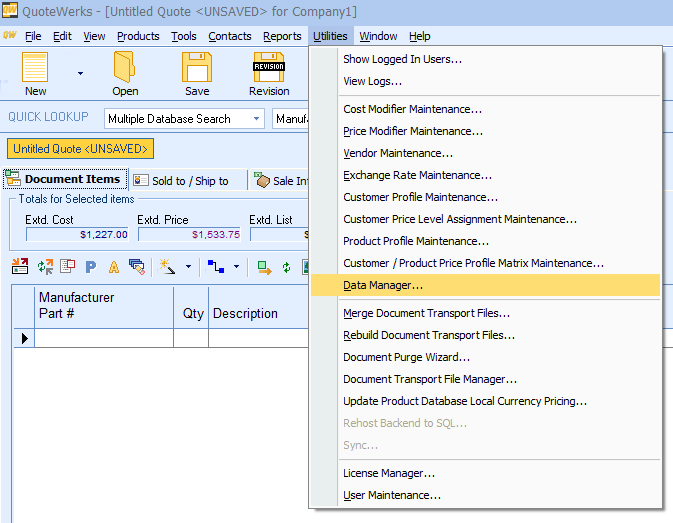
1. The Data Manager can be accessed via the Utilities menu and navigating to Data Manager.
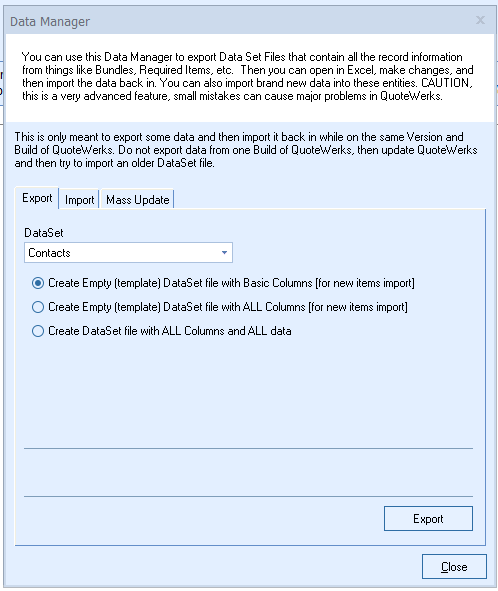
2. Before we can import our contact list we first need to obtain the template used to upload Contacts into the Database. In the Data Manager Window, on the Export tab, select "Contacts" as your DataSet. Here you can also determine what kind of template you would like to export. For information on these options see the Export Using the Data Manager help file.
As you can see below we have selected to "Create Empty (template) DataSet file with Basic Columns (for new items import)" as we will be performing a basic import.
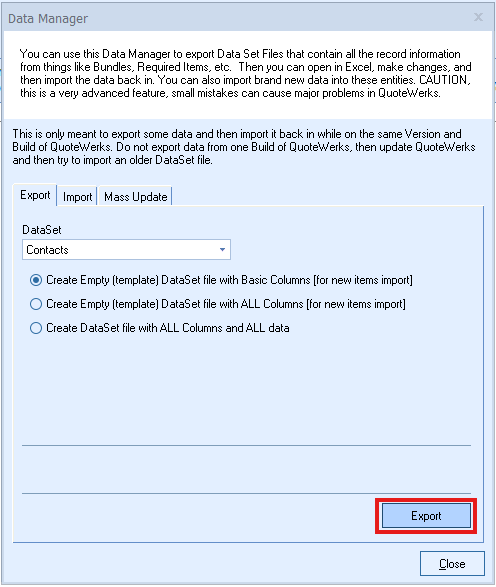
3. Click "Export" to export the file in a .csv file format.
4. Open the file in an application like excel to start importing your data into the appropriate columns. In this example below you can see that we are doing a very basic mapping of two fields, [CRMCompanies_CompanyName] and [CRMContacts_ContactName] and we have 4 contacts for our company, "Company1." [CRMCompanies_CompanyName] is a required field.
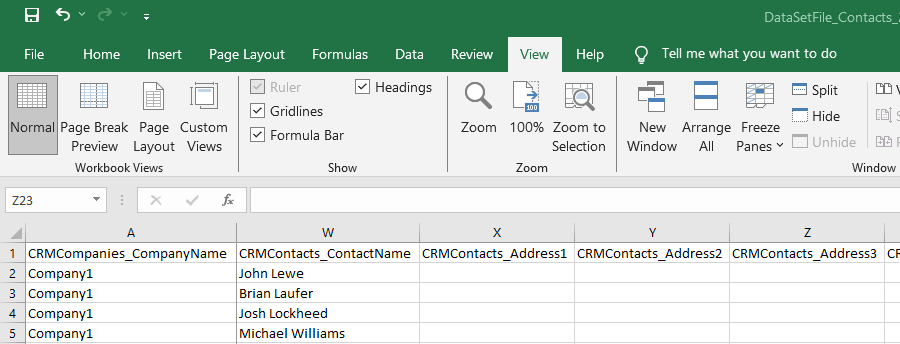
When you have completed importing your data into the .csv file save it to be uploaded into QuoteWerks.
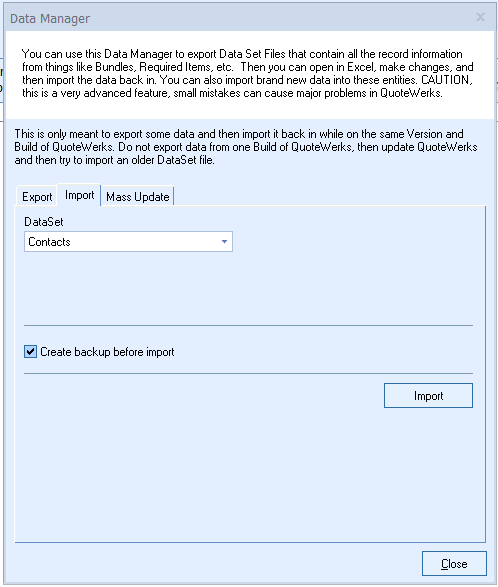
5. Go back to the Data Manager screen and select the "Import" tab to begin your import. You will want to select the DataSet "Contacts" and use the "Import" button to begin your import.
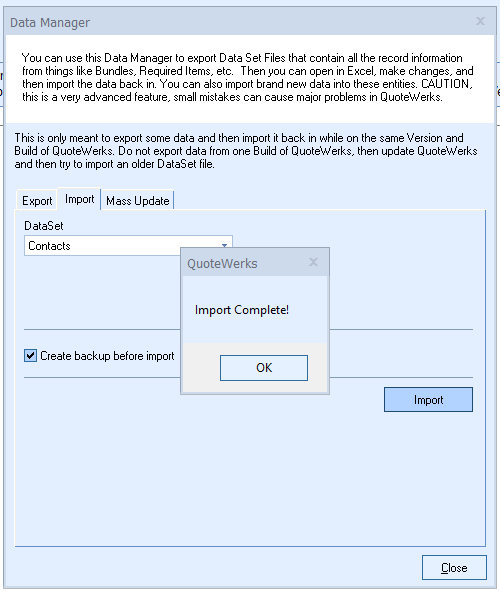
6. Once you select to "Open" file in Windows Explorer the import will begin and you will get a notification once complete.
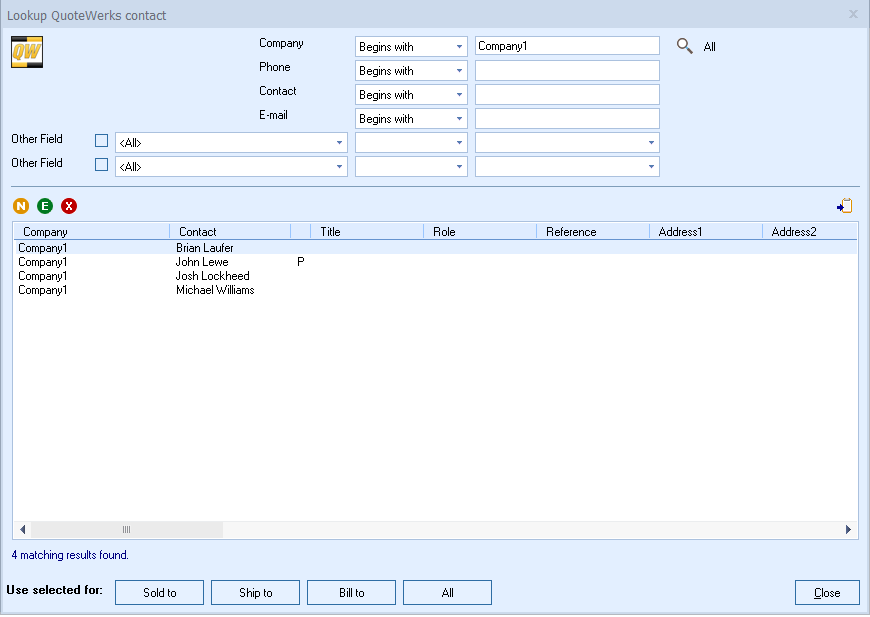
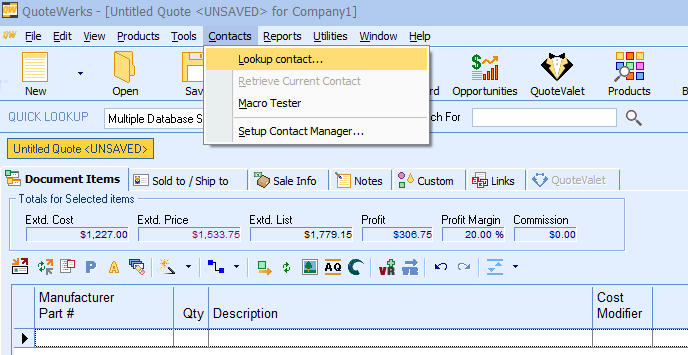
7. With the import complete you will now want to query the Contact Database to see how your contacts have been added. You can do so by navigating to the Contacts menu and selecting "Lookup Contact..."
As you can see below a new Company "Company1" has been created and it has the 4 contacts associated with it from our import.
Note that John Lewe has been designated the Primary Contact on the account indicated by the "P" next to his name. This is because he was the first contact in our import file. The first contact in the import file will automatically be designated the Primary Contact on the account.