Before you can re-host to SQL, you must install SQL Server so QuoteWerks can re-host to it. You most likely already have SQL Server installed. If you’re installing QuoteWerks on a laptop that needs to be able to run the Corporate Edition of QuoteWerks while disconnected from the network, you need to ensure SQL Server Express is installed on the laptop before you can begin to re-host.
At this point, QuoteWerks will have a Corporate Edition License Key entered into it; however, the backend will still be the default MS Access backend.
Important: If you’re still using the Access backend, you’ll want to run the Medic Utility monthly or more frequently (depending the amount of data in your database) to compact the database to keep it in tip-top shape. |
|
To re-host the backend:
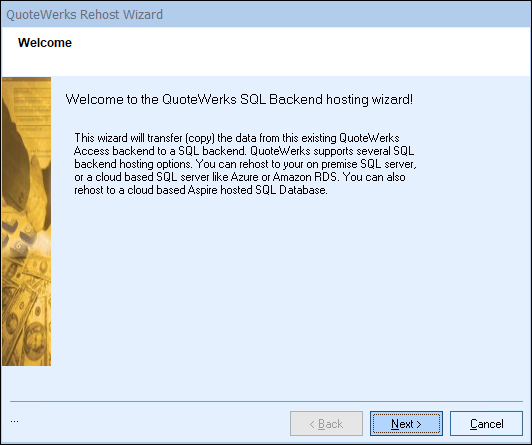
Step 1: Click the Utilities -> Rehost Backend to SQL menu. The Welcome window will appear:
Important: The Utilities -> Rehost Backend to SQL menu may not be enabled. To enable it, you must meet the following three conditions: 1.QuoteWerks must currently be using the Access backend. 2.A Corporate Edition License Key must be entered in this installation. 3.The user who’s logged in to QuoteWerks must have QuoteWerks Master Rights. |
Click on the [Next] button to start.
Step 2: On this window, specify the SQL Server name, User ID, Password, Database owner, and New Database name you want to create to host the QuoteWerks data (we recommend “QuoteWerks”). If you are rehosting to an existing SQL database, you do not have to supply a SQL server User ID and can specify the existing database that you would like to rehost to instead.
Important: For QuoteWerks, users should always select the "SQL Server authentication" option and NOT the Windows authentication. |
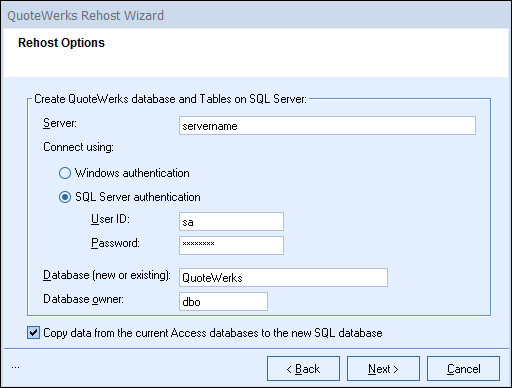
If you are re-hosting on a laptop, use “SA” for the User ID. If installing to SQL Server, use “[SERVERNAME]\SQLExpress” for the SQL Server name.
|
Additionally, the SQL Server User ID supplied will need to have a minimum of SQL Server Administrator rights. Unless you are an expert with the use of SQL Server, it is generally not suggested to change the the Database Owner from the default "dbo".
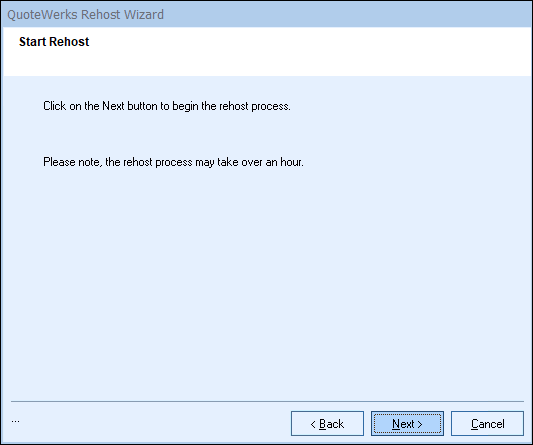
Step 3: On this next window, simply click on the [Next] button to start the re-host process.
Important: Once you start the Rehost process, you will need to wait until it completes before using QuoteWerks. Most companies will be able to rehost in just a few minutes, but if you have a large database, this process can take up to multiple hours. Be sure you have allotted enough time for it to complete. |
Step 4: A progress monitor displays during the re-hosting process.
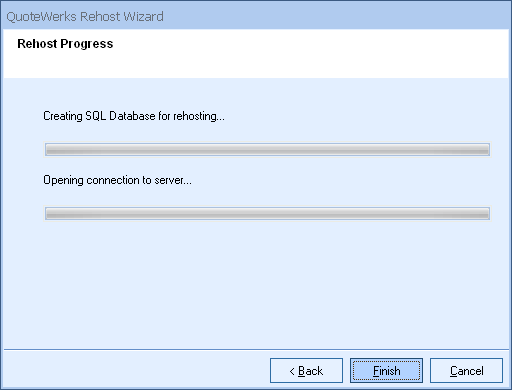
This step may take anywhere from a few minutes to a few hours, depending on how much data your QuoteWerks installation contains. Please be patient.
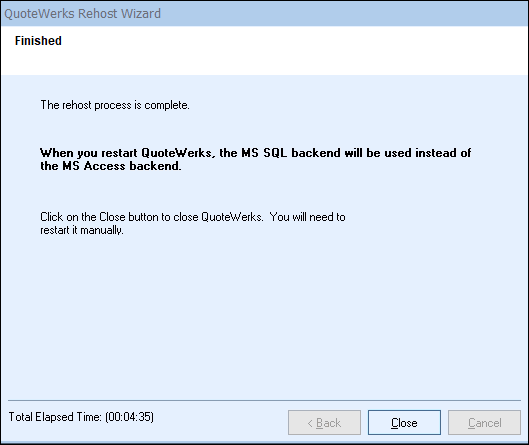
Step 5: On the final window a message will display letting you know the process has completed and that you will need to close QuoteWerks and restart for the changes to take effect. Click on the [Close] button to finish the rehost wizard.
Step 6: Close and restart QuoteWerks for the changes to take effect.
|
For QuoteWerks Web Users
If you are rehosting your QuoteWerks installation to SQL specifically to use QuoteWerks Web, the next step is to Configure Your Firewall for QuoteWerks Web On-Premise Database Hosting.