The following steps will take you through the process of configuring QuoteWerks for use with ConnectWise. Only follow the below instructions once you have completed Setting Up ConnectWise to Integrate with QuoteWerks.
Step 1: Launch QuoteWerks.
Step 2: Click Contacts -> Setup Contact Manager from the main toolbar.
Step 3: Select ConnectWise as your contact manager on the left side of the Contact Manager Setup window.
|
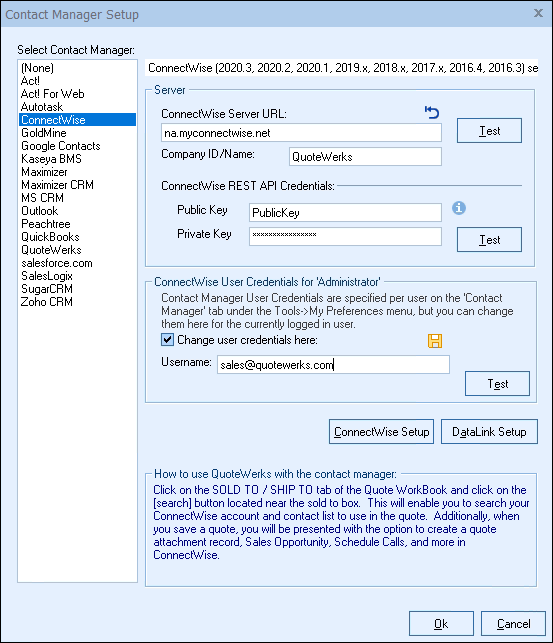
Step 4: ConnectWise Server URL
![]()
Enter your ConnectWise Server URL here. If you’re using a locally hosted version of ConnectWise, the URL will display in the Site field above your Company ID, Username, and Password on your ConnectWise login window, as shown below:
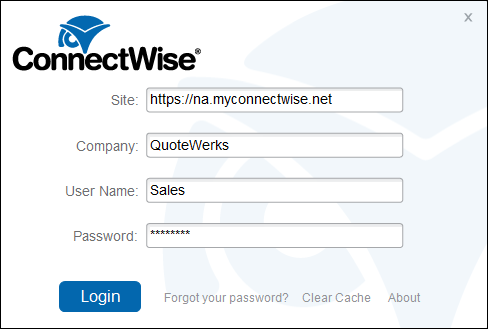
If you’re using a hosted version of ConnectWise, the URL will be the same URL you enter into your browser to launch ConnectWise. Typically, when using the ConnectWise hosted version, this URL will look something like www.na.myconnectwise.net (if in North America). If you're hosting ConnectWise on a local server, enter your local URL.
|
Click the Test button next to the ConnectWise Server URL to validate it.
Step 5: ConnectWise REST API Credentials
Enter your Public and Private keys you created from the Setting Up ConnectWise to Integrate with QuoteWerks topic in the corresponding fields. Click the [Test] button to ensure they are active. This will also display the modules enabled in ConnectWise.
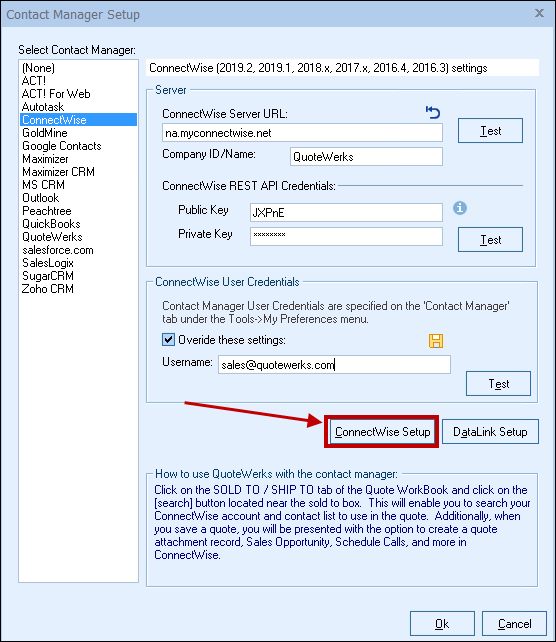
Step 6: ConnectWise User Credentials
QuoteWerks also needs your ConnectWise Username to log into and integrate with ConnectWise. Enter these credentials, click the Test button to verify them, then click the ![]() icon to save them.
icon to save them.
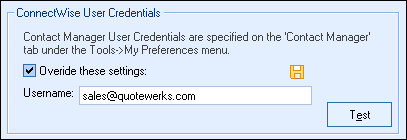
Since these are user-based credentials, you will also need to enter these on the Contact Manager tab under Tools > My Preferences, for each user setup in QuoteWerks as shown in the screen shot below.
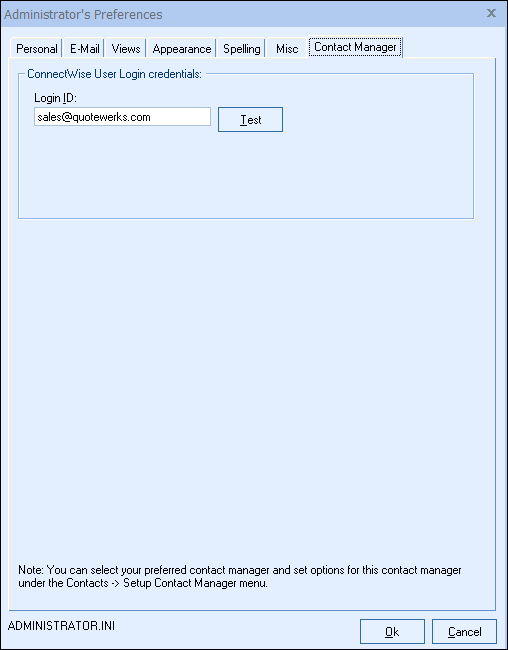
Use the Test button to verify your credentials are entered correctly.
|
The next step is to work on the ConnectWise Setup.
Once that is completed, you can move onto the DataLink Setup.