Important: It's strongly recommended that you shut down any other applications that are currently running, including virus checkers and chat programs, to ensure a successful installation. |
Step 1: Double-click the qwsetup.exe file that was downloaded onto your machine. This is the main installer file.
Step 2: Click Next on the QuoteWerks Setup Wizard that launches.
Step 3: The welcome-step window will appear.
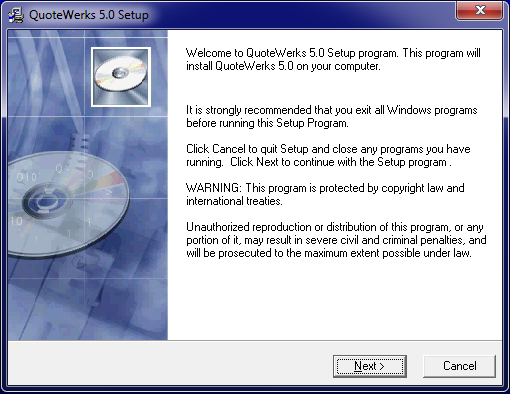
When you’re ready to proceed, click on the [Next] button.
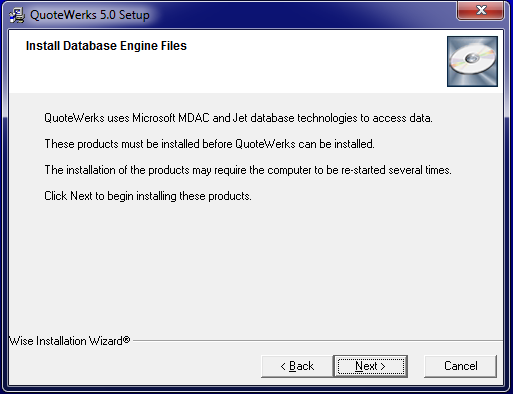
Step 4: Starting with 4.0, QuoteWerks uses Microsoft MDAC and Jet database technologies to access data. As a result, these products must be installed. The QuoteWerks setup program will install these for you. This may require a reboot during installation.
Step 5: The License Agreement window will appear next.
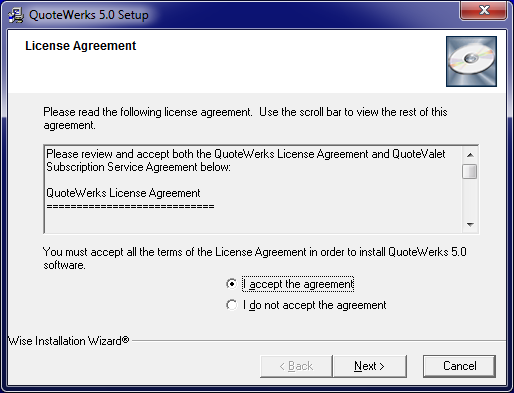
Read through the licensing agreement, using the scroll bar to advance. If you accept the terms, select I accept the agreement, then click on the [Next] button to continue.
Step 6: Select Perform new Installation of QuoteWerks to install a fresh copy of QuoteWerks.
Click on the [Next] button.
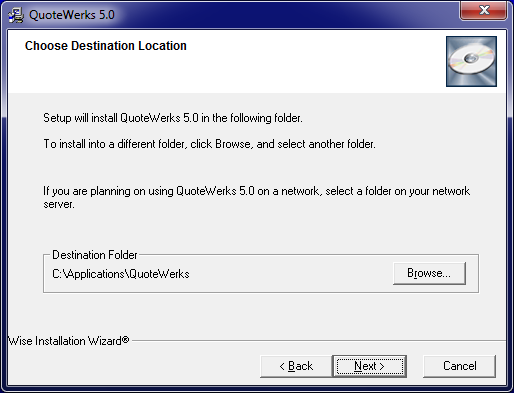
Step 7: The Choose Destination Location window will appear next. The default destination folder is C:\Applications\QuoteWerks (Windows 7 and higher).
QW4MAN~1_img7.bmp
If you want to change the destination folder, click on the [Browse] button and select the drive letter and folder you’d like to install QuoteWerks on.
|
Once you’ve selected the appropriate destination folder, click on the [Next] button.
Step 8: The Fresh Installation Options window will appear next.
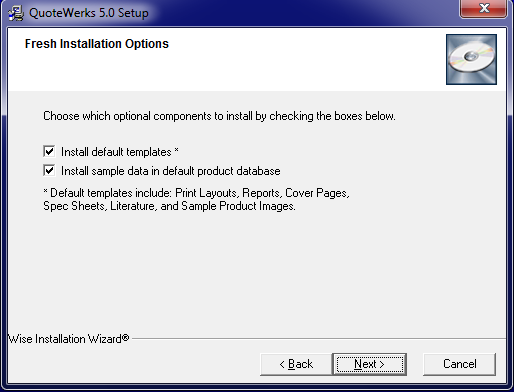
Select 1 or both of the following checkbox options:
Install default templates
For a fresh installation of QuoteWerks, you’ll most likely want to select this option. However, if you are installing a remote installation and will be copying previously customized templates into this installation, then uncheck this box so the default templates don’t clutter your customizations.
Install sample data in default product database
Whenever QuoteWerks is installed, a default product database is also installed. Choose this option if you’d like this sample data included in your default product database.
After selecting the appropriate option(s), click on the [Next] button.
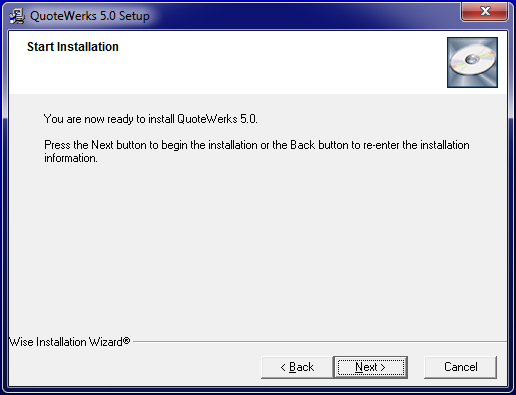
Step 9: The Start Installation window will appear next. Click on the [Next] button to begin installing the program files.
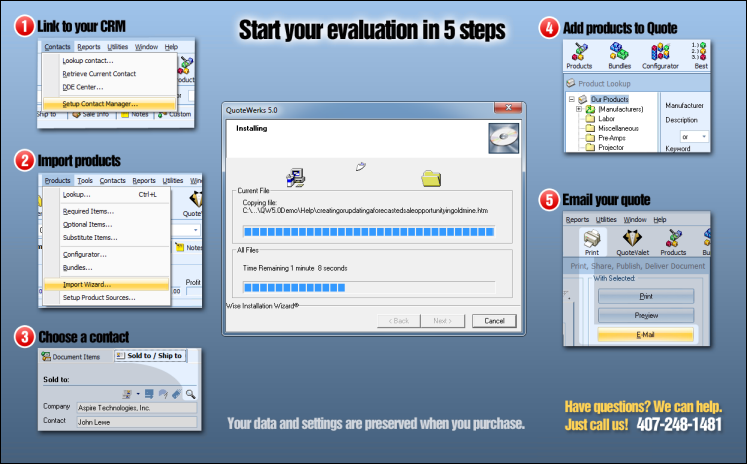
Step 10: An Installing window will appear next, tracking the status of the main installation.
Step 11: Once QuoteWerks has completed installing the shared program files, the Main installation complete window will appear, letting you know the shared program files have successfully installed.
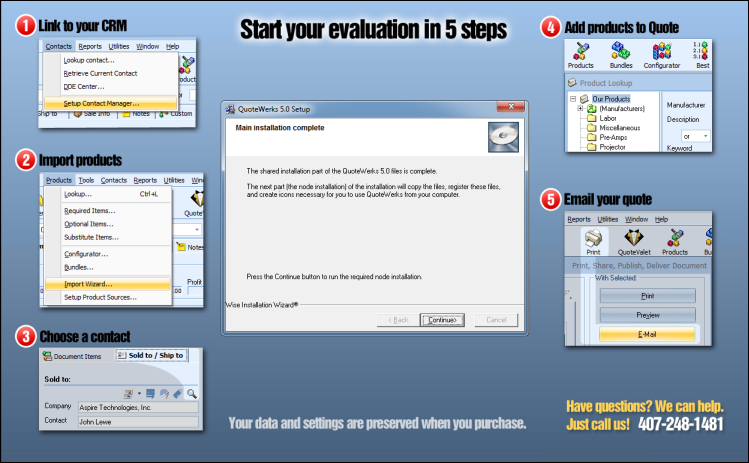
To complete the required node installation, click on the [Continue] button.
Important: If you're installing QuoteWerks on a network, remember that you'll need to run this node installation (i.e., complete steps 12 through 18) on each additional network workstation you'd like to use QuoteWerks from. |
Step 12: Next, the QuoteWerks Node Installation window will appear. This part of the installation will copy over system files and create icons necessary for you to use QuoteWerks on your workstation.
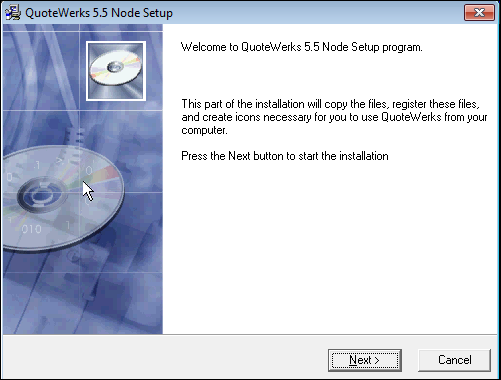
Click on the [Next] button to begin the node installation.
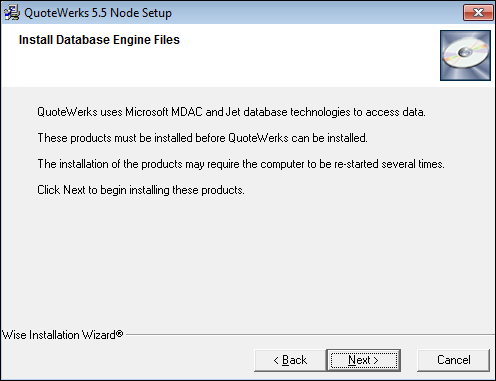
Step 13: Starting with 4.0, QuoteWerks uses Microsoft MDAC and Jet database technologies to access data. As a result, these products must be installed. The QuoteWerks setup program will install these for you.
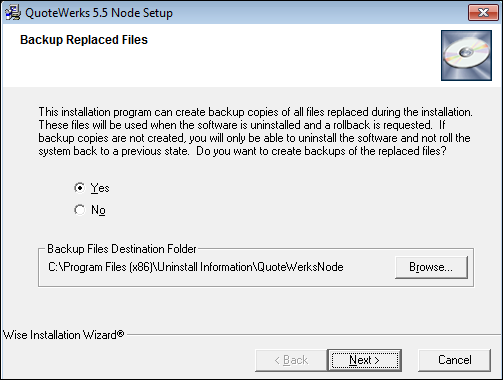
Step 14: The Backup Replaced Files step will allow you to create backup copies of all files replaced during the installation. Please review the explanation and choose accordingly (we recommend backing up all replaced files).
Step 15: In the Select Optional Components step, you can choose to install the various CRM integrations.
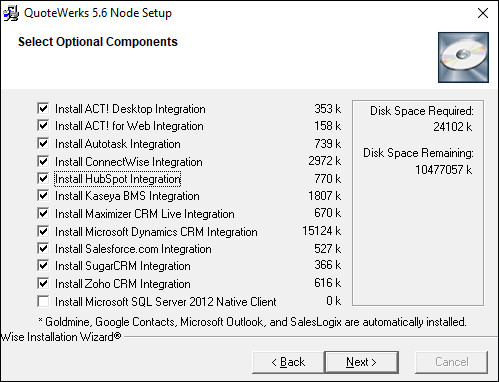
If you'll be using this CRM/PSA... |
Then install... |
ACT! Desktop |
ACT! Desktop Integration |
ACT! For Web |
ACT! for Web Integration |
Datto/Autotask PSA |
Autotask Integration |
ConnectWise Manage |
ConnectWise Integration |
Hubspot |
Hubspot Integration |
Kaseya BMS |
Kaseya BMS Integration |
Maximizer CRM Live |
Maximizer CRM Live Integration |
Microsoft Dynamics CRM |
Microsoft Dynamics CRM Integration |
Salesforce.com |
Salesforce.com Integration |
SugarCRM |
SugarCRM Integration |
Zoho CRM |
Zoho CRM Integration |
Microsoft SQL Server 2012 |
Microsoft SQL Server 2012 Native Client |
|
|
|---|
Step 16: The Select Start Menu Folder window will appear next.
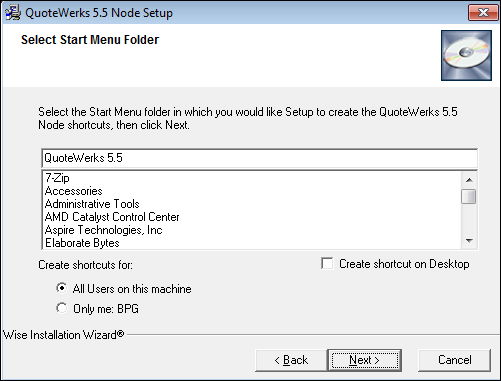
Type the name of the Windows Start menu to add QuoteWerks icons to. To create a shortcut on your desktop, select Create shortcut on Desktop.
Optionally, you can choose to install the node for all users that use the workstation, or just the logged-in user (which installs the desktop icons to the current user and start menu). All Users on this machine is recommended when you have more than 1 person using the same workstation. This is also helpful for Terminal Services and Citrix users.
Once you’ve selected the appropriate group, click on the [Next] button.
|
|---|
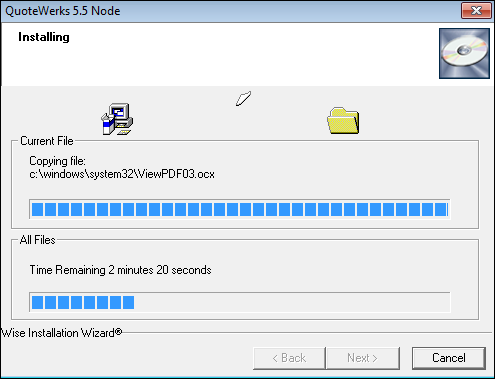
Step 17: An Installing window will appear next, with the status of the node installation.
Step 18: Once the QuoteWerks Node Setup has finished, the Installation Complete window will appear, letting you know that the entire installation was successfully completed.
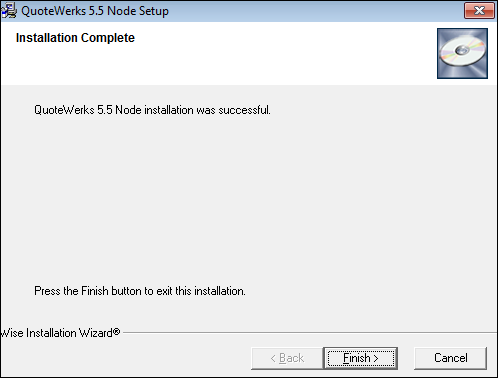
Click on the [Finish] button to complete the program installation process and return to your Windows desktop.

Your single-user installation is now complete. You can enter your License Key(s) or continue in Demo Mode. If you’ve already entered a License Key into this installation, you’ll be able to log in to QuoteWerks.