QuoteValet Mobile is template driven. This means that users will need to create different templates in QuoteWerks with products already loaded prior to using QuoteValet Mobile. Access to your products databases is not available, however you can create a template with the products and services used most often on a template and upload that to QuoteValet Mobile. This will enable you to pick from that template the products and/or services to you need to add to the quote.
To load a new template into QuoteValet, log into QuoteWerks and create a template in QuoteWerks with the products you wish to include on the template. Click on File-> Save as Template to save the current open document as a template.
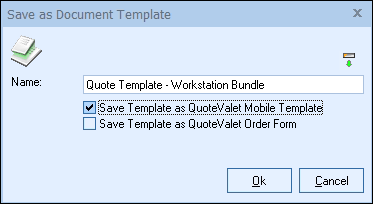
If you're saving an existing template instead of creating a new one, you'll get a slightly different window — the main difference being that you cannot edit the Name field:

Check the Save Template to QuoteValet Mobile box and click on the [Ok] button. If you do not check this box, this template will not be uploaded to QuoteValet Mobile.
|
|---|
Next, log into QuoteValet Mobile by entering this address in your web browser from your tablet or smartphone:
https://quotevalet.com/mobile. You can also access it via QuoteValet Insight.
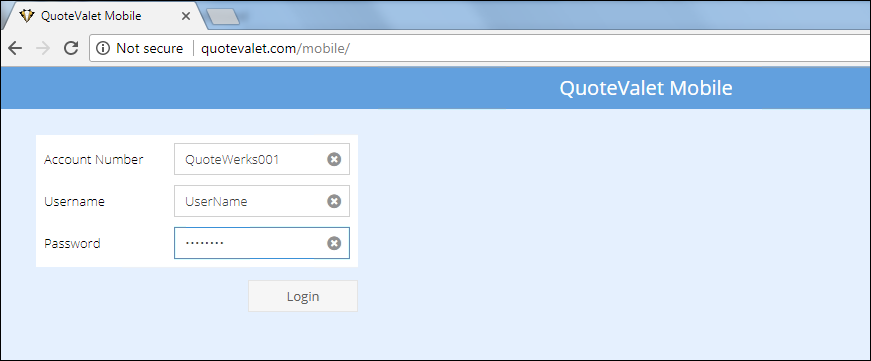
Log into QuoteValet Mobile by entering in your QuoteValet Account Number (can be found in QuoteWerks under Tools-> Options-> QuoteValet), your QuoteWerks username, and your QuoteWerks password.
You will be brought to the main screen in QuoteValet Mobile, the WorkBook. This is where you can begin creating your quotes. To load your previously created templates, click on the “New” button at the top left of the window:
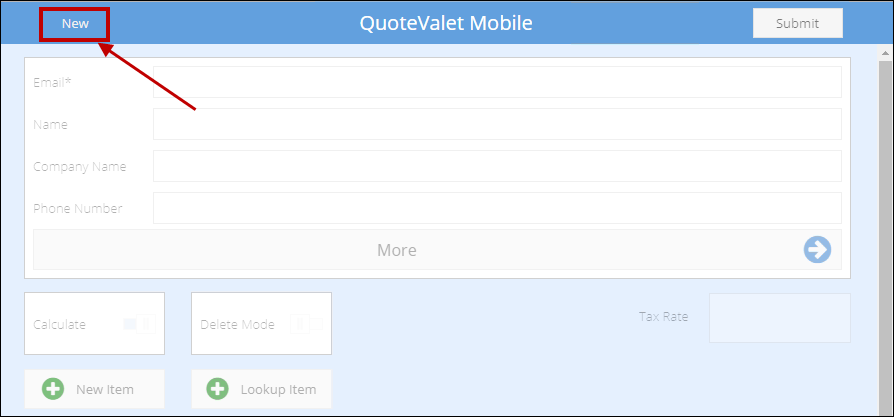
This will load all the templates that are available to be used in QuoteValet Mobile. You will not be able to add any products into your quote until you have selected a template.
After clicking on the “New” button you will be able to choose the template that you would like to load into QuoteValet Mobile:

At the top of the template are the email, name, company name, and phone number fields. Fill these fields out by clicking on them. These are the contact details for the user who you wish to receive this quote:

For additional fields, click on the “More” button. These fields include the address fields, introduction notes, and the document name:
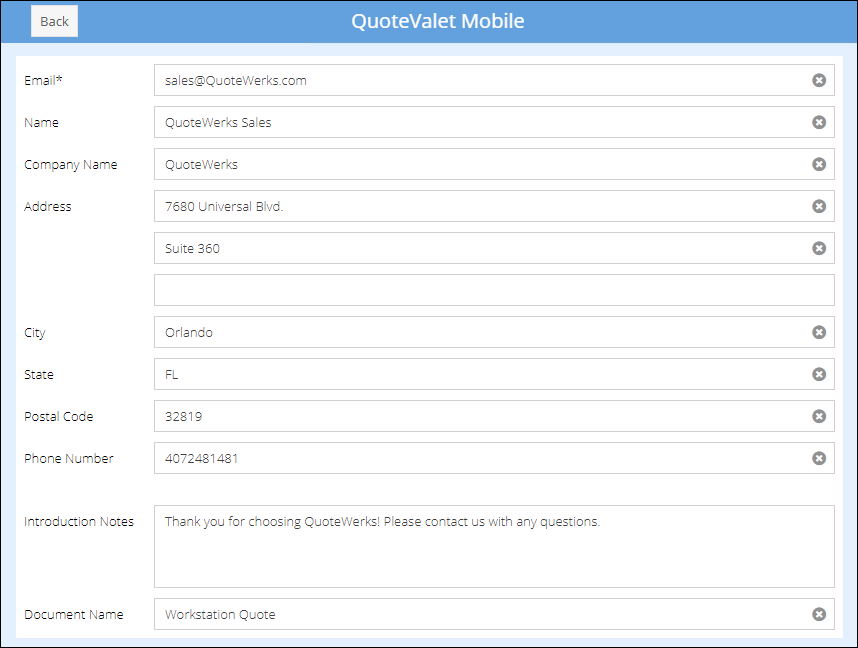
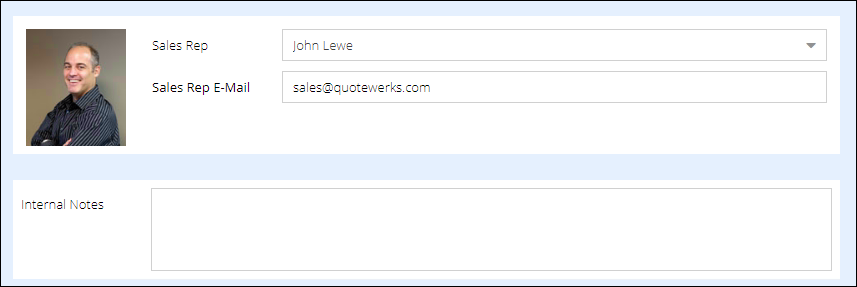
Additionally, underneath the document name the Sales Rep and sales rep email can be assigned. The sales rep field is a drop-down box which will enable you to add any QuoteWerks user from your installation to this quote:
|
Users will also be able to write in any internal notes about the document and these will be written back into the Notes tab in QuoteWerks under the Internal Notes field.
Selecting a Contact from ConnectWise or Autotask
If you are using Autotask or ConnectWise as your CRM/PSA software you can search for contacts from the Autotask or ConnectWise contact list and pull that contact into a QuoteValet Mobile document. To do this, click on the “More” button after you have selected your template. Click on the Select Contact button at the top left of the screen:
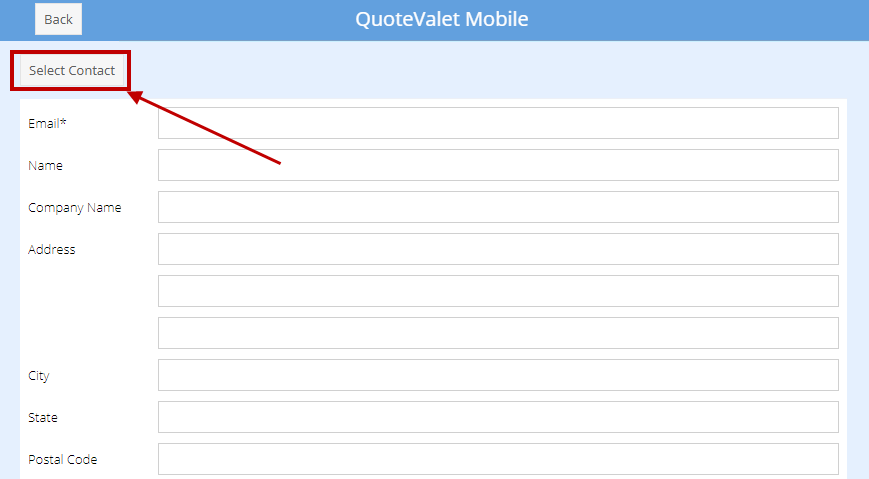
Type in your search terms and then select the contact you would like to use for your document. Once you click on the contact their contact details will be added to the cont details portion of the document.
Users can also search for contacts in Autotask and ConnectWise by clicking on the ![]() icon at the bottom. This will just let you search contacts however; you will not be able to pull any of these details into the quote from this screen.
icon at the bottom. This will just let you search contacts however; you will not be able to pull any of these details into the quote from this screen.
|

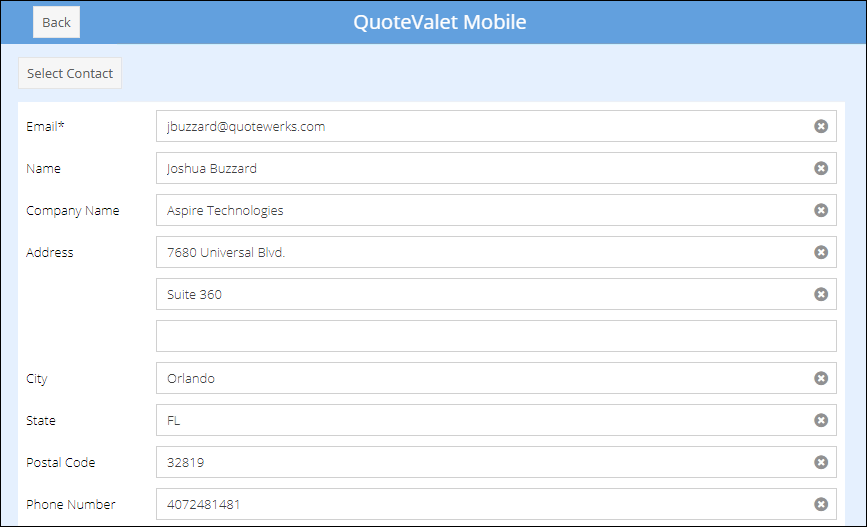
Once the contact information has been populated in the document users can begin editing the quantity of the items on the template and remove any items that do not need to be on the quote.
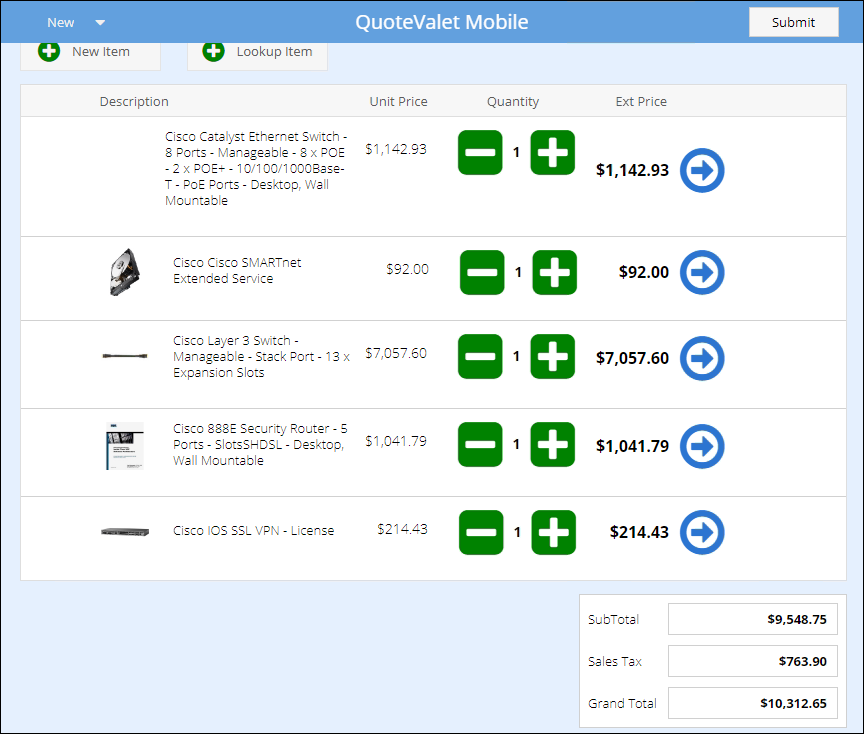
Clicking on the ![]() icon will increase the quantity of the item and the
icon will increase the quantity of the item and the ![]() icon will decrease the quantity.
icon will decrease the quantity.
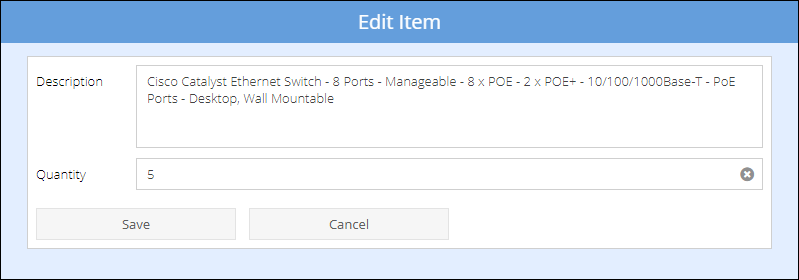
Clicking on the  icon will enable users to edit the item’s description and the quantity. Users will be able to manually apply a quantity (e.g. apply 10 instead of clicking the
 ![]() 10 times).
10 times).
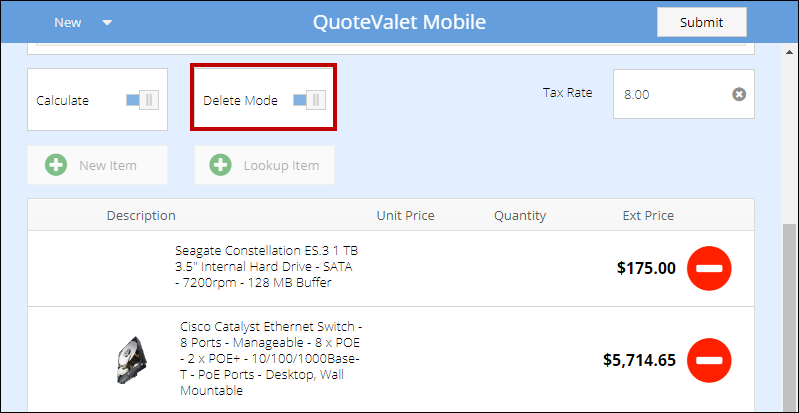
To remove items from the quote, click on the “Delete” icon right above the template information. Change it to “On” and then click on the ![]() icon next to the products you would like to remove from the quote.
icon next to the products you would like to remove from the quote.
Adjusting the tax rate on the document can be done by clicking on the “Tax Rate” option. You can then enter in the correct tax rate for this document.
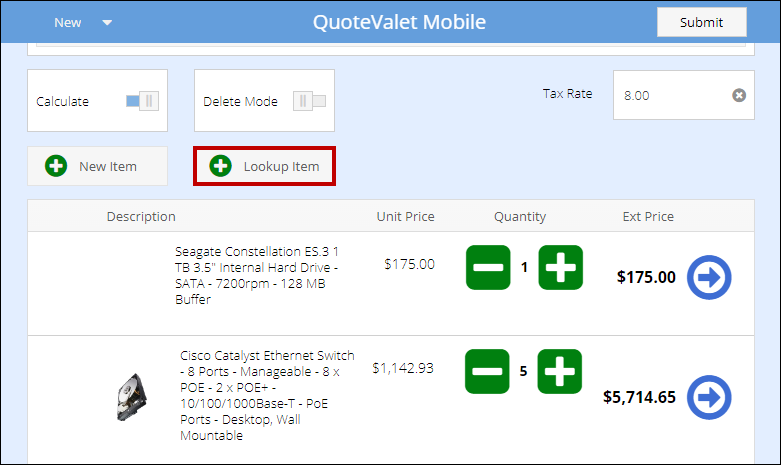
The “Lookup Item” option enables users to add additional products to the selected template from any other template located in QuoteValet mobile.:
Click on the drop-down box titled “Template” to view your previously uploaded templates in QuoteValet Mobile:
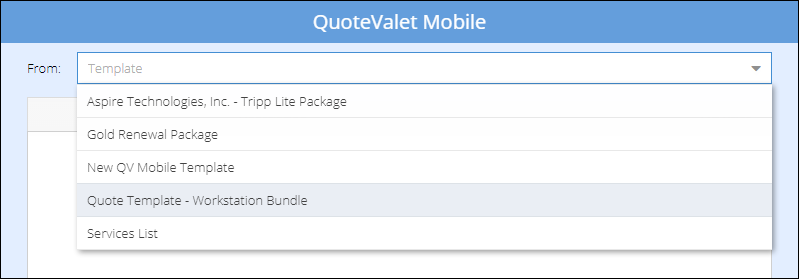
Select the template you would like to use by clicking on it.
Once loaded all the products on the template will be available for selection to the current open quote. Select the items you would like to add to your document by clicking on the icon next to the item’s description. This will change to a green check marked icon indicating that the current product has been selected.
Once you have chosen all the items you would like to add to your quote, click on the “Add Selected” button. This will add the selected items to your quote and bring you back to the WorkBook. If you need to add additional items to the quote, simply repeat this process from a different template.
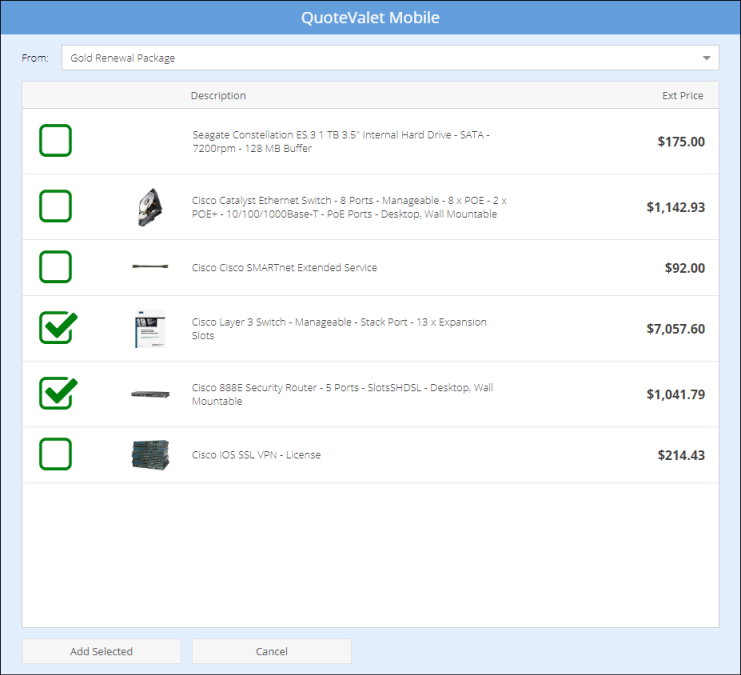
![]() Item is not selected
Item is not selected
![]() Item has been selected
Item has been selected
Users are also able to add items on the fly by clicking on the “New Item” option. This will let users add any items to the quote that are not currently listed in a document template. The fields available here are description of the item, the manufacturer part number, the quantity, the unit price (selling price) and the tax code (Y for taxable N for non-taxable).
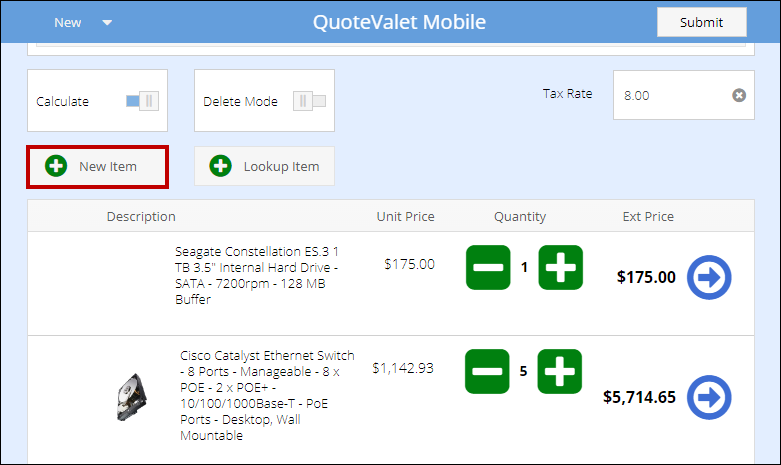
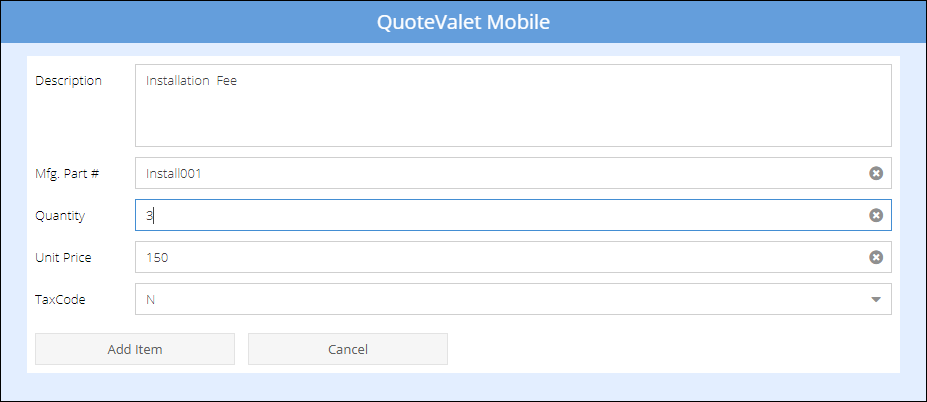
After adding the newly created item to the document you will be brought back to the main screen automatically. You can then review your quote for any other changes that need to be made before submitting the quote to the customer.
If you do not wish for QuoteValet Mobile to automatically calculate the totals for you as you create the document, you can turn it off on a per document basis.
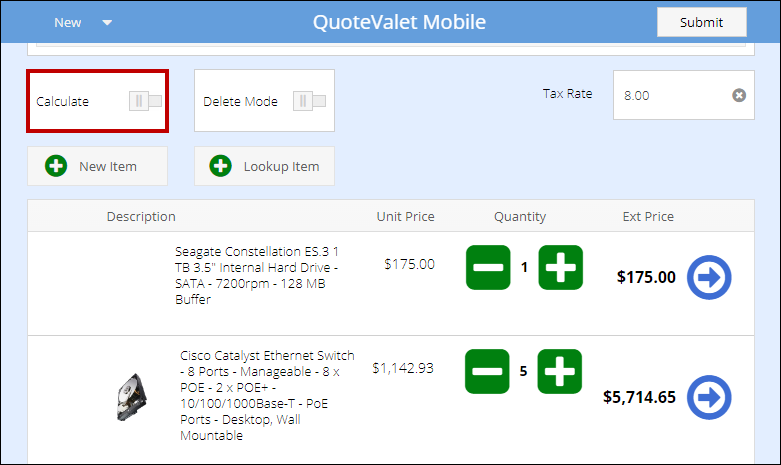
This is useful if you are in front of the customer and need to add some additional items to the quote, but don’t want the customer to see the total until everything is has been added to the quote.
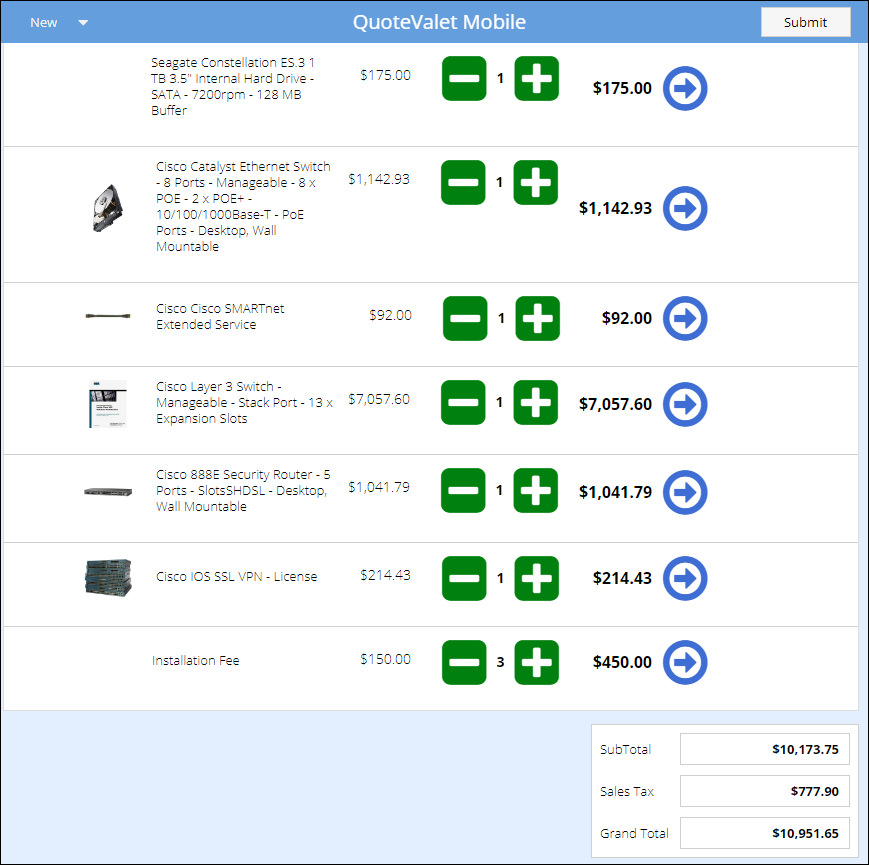
Click on the ![]() icon in the top right of the window to submit the document to QuoteValet to be uploaded to the QuoteValet server and emailed to the customer.
icon in the top right of the window to submit the document to QuoteValet to be uploaded to the QuoteValet server and emailed to the customer.
The email that is sent to the customer from QuoteValet Mobile is set under the Templates tab in the QuoteValet setup (Tools-> Options->Tenant Account) under the “Notification E-mail” template type.
A confirmation window will appear once the document has been created in QuoteValet Mobile and the email has been delivered to the customer:
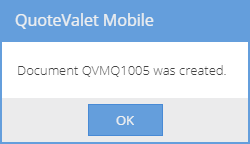
The Document Numbering sequence is going to look very similar to the QuoteWerks numbering format except for a few minor changes. All QuoteValet Mobile quotes will have the QVMQ#### format so that all users can quickly see that the quote was originally created in QuoteValet Mobile.
The HTML document template for QuoteValet Mobile will default to the Customer Facing template that is the default in QuoteValet. This default can be changed in the Tools-> Options-> QuoteValet -> Setup.
Additionally, the PDF version of the quote that is uploaded is also set under Tools-> Options-> QuoteValet-> Setup-> Templates.
Once the quote has been uploaded to QuoteValet via QuoteValet mobile, the PDF will actually update with the different selections made by the customer.
For example, if you create a quote in QuoteValet mobile with optional items, each time they select or de-select an option from that quote and click on update, the PDF document associated with that quote will also update with the changes.
|
Below is the email that is sent to the customer when a QuoteValet Mobile quote is submitted.
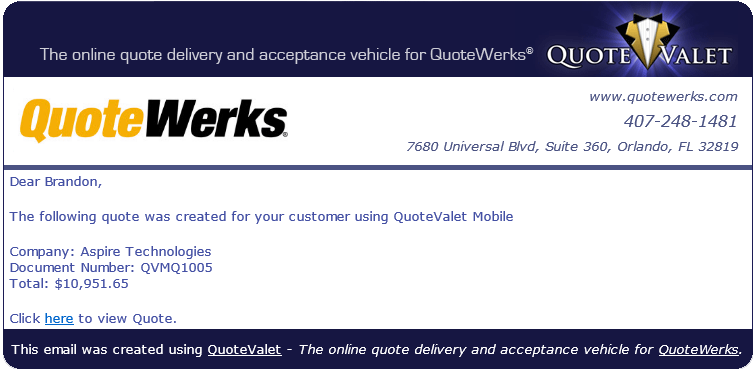
Once the document has been uploaded and the email sent to the customer, the regular QuoteValet processes take over.