Upgrading Single- and Multi-User Installations |

  
|
Upgrading Single- and Multi-User Installations |
|
Important: We strongly recommended that you shut down any other applications that are currently running, including virus checkers and chat programs, to ensure a successful installation. |
Step 1: Complete the Upgrade-Preparation Checklist.
Step 2: Double-click the qwsetup.exe file that was downloaded onto your machine.
Step 3: The welcome-step window will appear.
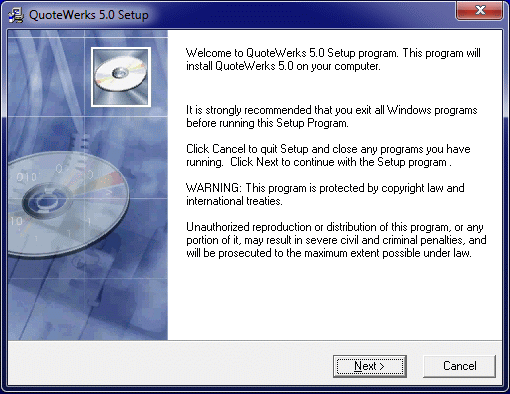
When you’re ready to proceed, click on the [Next] button.
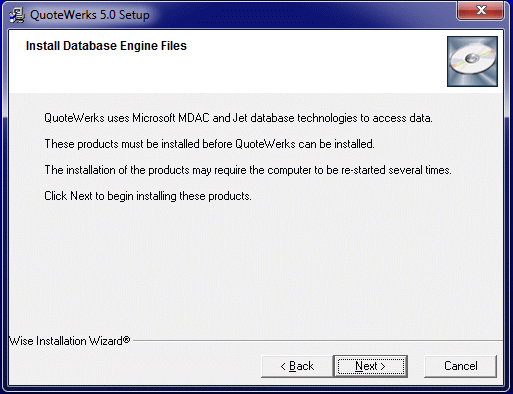
Step 4: Starting with 4.0, QuoteWerks uses Microsoft MDAC and Jet database technologies to access data. As a result, these products must be installed. If they’re already installed, they won’t be reinstalled.
This may require a reboot during installation.
Step 5: The License Agreement window will appear next.

Read through the licensing agreement, using the scroll bar to advance. If you accept the terms, select I accept the agreement, then click on the [Next] button to continue.
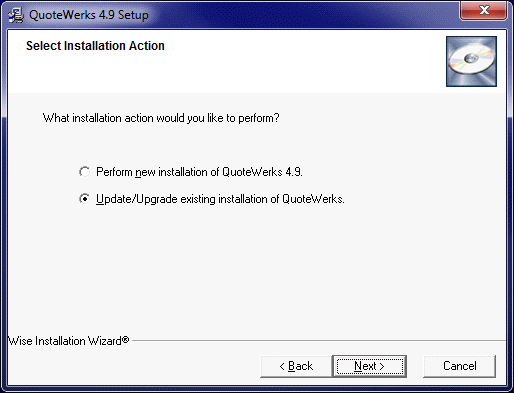
Step 6: Select Update/Upgrade an existing installation of QuoteWerks.
Step 7: By default, QuoteWerks will find your existing installation; however, you can choose this location yourself. The default installation folder is C:\Program Files\QuoteWerks, but you may need to click on the [Browse] button and select the drive letter and folder your existing QuoteWerks is installed to.
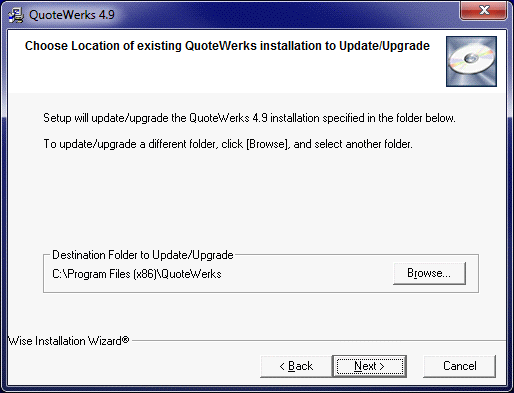
Once you’ve selected the appropriate destination folder, click on the [Next] button.
Step 8: If you have QuoteWerks 3.0 installed, you’ll be prompted to confirm the upgrade of the existing 3.0 installation to 5.2.
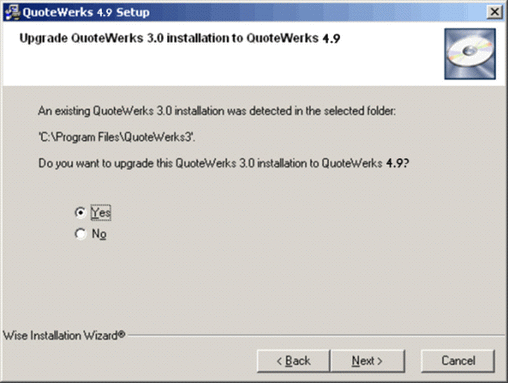
Click on the [Next] button to continue.
Step 9: Next, you may choose to install sample print layouts, reports, cover pages, spec sheets, literature, and product images.
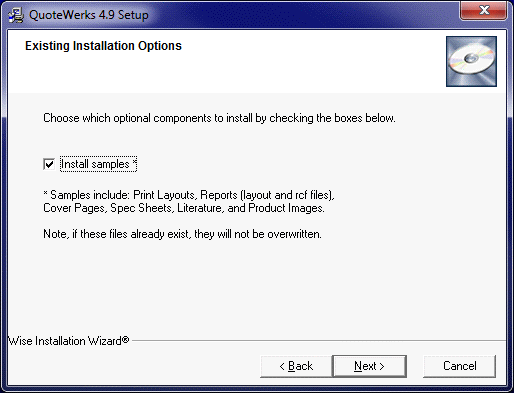
Click on the [Next] button to continue.
Step 10: To upgrade your existing QuoteWerks installation, you must enter a serialized update key. This key is issued by Aspire Technologies, Inc., and is based on your Update Maintenance Program eligibility.
When entering your Serialized Update Key, ensure you use the format displayed next to the Enter Update Key field.

Click on the [Next] button to continue.
Step 11: The Start Installation window will appear next.
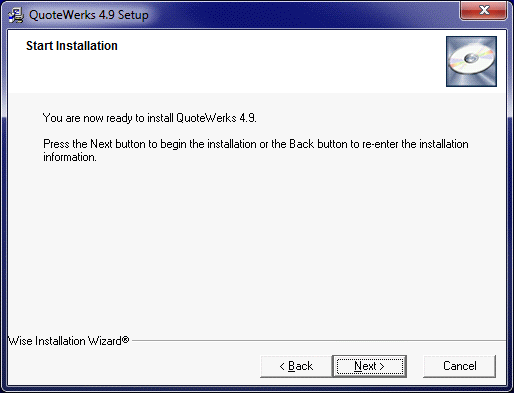
Click on the [Next] button to begin installing the program files.
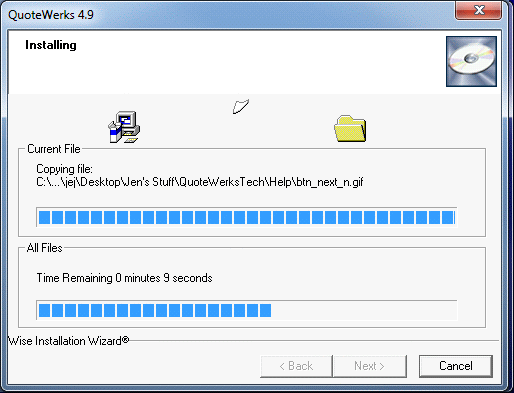
Step 12: An Installing window will appear next, tracking the status of the main installation.
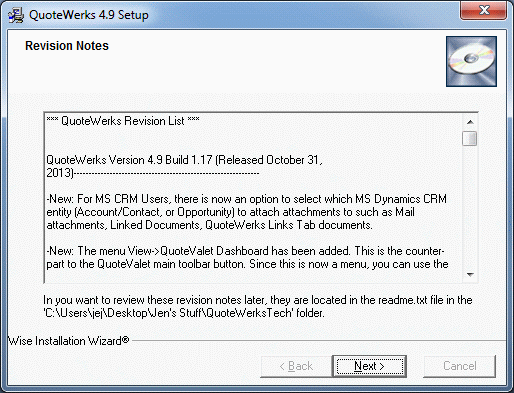
Step 13: The Revision Notes window will display a list of all the new features and fixes in this installation.
Step 14: Once QuoteWerks has completed installing the shared program files, the Main installation complete window will appear, letting you know the shared program files have successfully installed.
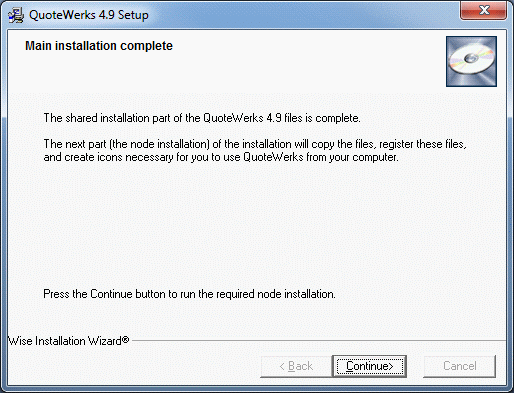
To complete the required node installation, click on the [Continue] button.
Step 15: Next, the QuoteWerks 5.2 Node Setup window will appear. This part of the installation will copy over system files and create icons necessary for you to use QuoteWerks on your workstation.
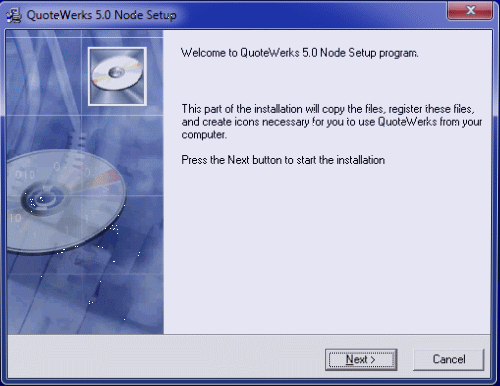
Click on the [Next] button to begin the node installation.
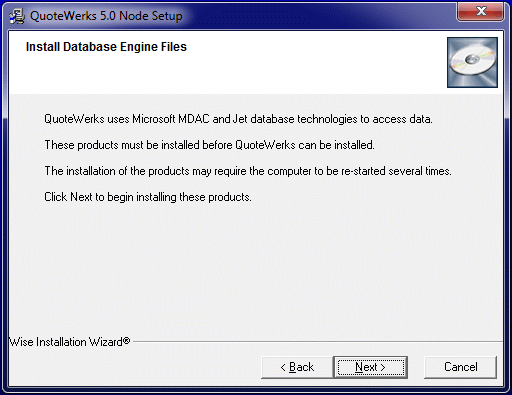
Step 16: Starting with version 4.0, QuoteWerks uses Microsoft MDAC and Jet database technologies to access data. As a result, these products must be installed. The QuoteWerks setup program will install these for you.
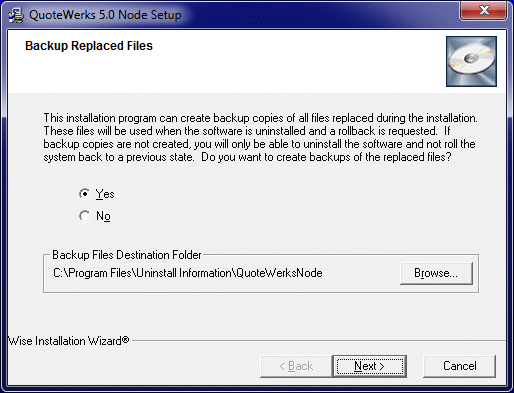
Step 17: The Backup Replaced Files step will allow you to create backup copies of all files replaced during the installation. Please review the explanation and choose accordingly (we recommend backing up all replaced files).
Step 18: In the Select Optional Components step, you can choose to install the QuoteWerks Web Connector and/or various CRM integrations.
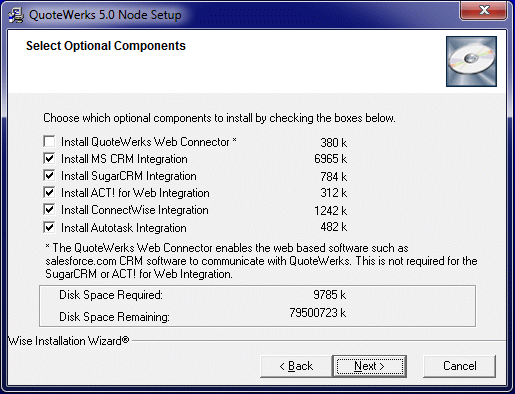
If you'll be using this CRM... |
Then install... |
salesforce.com |
QuoteWerks Web Connector (optional)* |
Microsoft CRM |
MS CRM Integration |
SugarCRM |
SugarCRM Integration |
Act! for Web |
Act! for Web Integration |
ConnectWise |
ConnectWise Integration |
Autotask |
Autotask Integration |
*If you’ll be using salesforce.com as your contact manager and starting quotes from salesforce.com, you’ll need to install the QuoteWerks Web Connector. The salesforce.com integration has a unique feature that enables salesforce.com users to click a hyperlink located on a salesforce.com opportunity window. This will start QuoteWerks and copy all the account and opportunity information over, automating the creation of a new quote using details from salesforce.com.
The QuoteWerks Web Connector can be used with any system that can launch a web link (URL). Using this feature, it’s possible to automate QuoteWerks, creating a new quote and populating it with information from the URL. To modify existing web URLs to work with the new "quotewerks:" protocol handler, simply change http://localhost:1001/ to quotewerks://.
|
Step 19: The Select Start Menu Folder window will appear next.
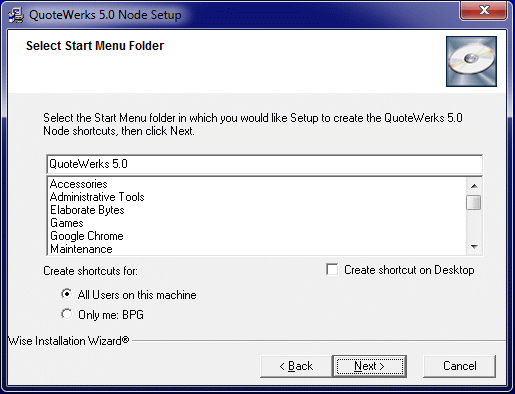
Type the name of the Windows Start menu to add QuoteWerks icons to. To create a shortcut on your desktop, select Create shortcut on Desktop.
Optionally, you can choose to install the node for all users that use the workstation or just the logged-in user (which installs the desktop icons to the current user and start menu). All Users on this machine is recommended when you have more than one person using the same workstation. This is also helpful for Terminal Services and Citrix users.
Once you’ve selected the appropriate group, click on the [Next] button.
|
|---|
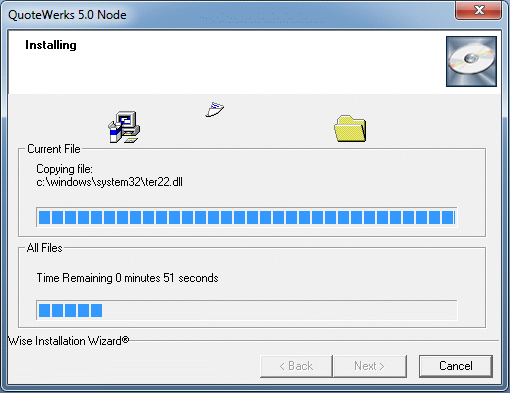
Step 20: An Installing window will appear next, with the status of the node installation.

Step 21: Once the QuoteWerks 5.2 node setup has finished, the Installation Complete window will appear, letting you know that the entire installation was successfully completed.
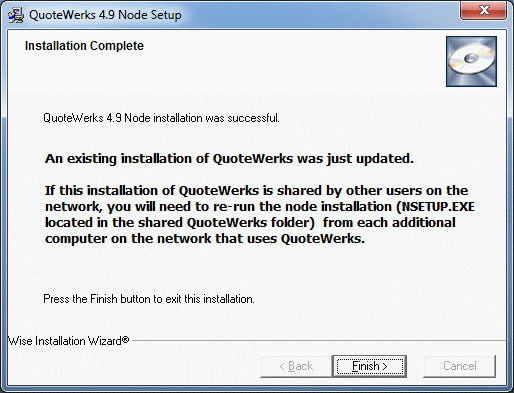
Click on the [Finish] button to complete the program installation process and start the QuoteWerks 5.2 Upgrade Wizard.